


Unlock the secrets to a GLOing bright smile
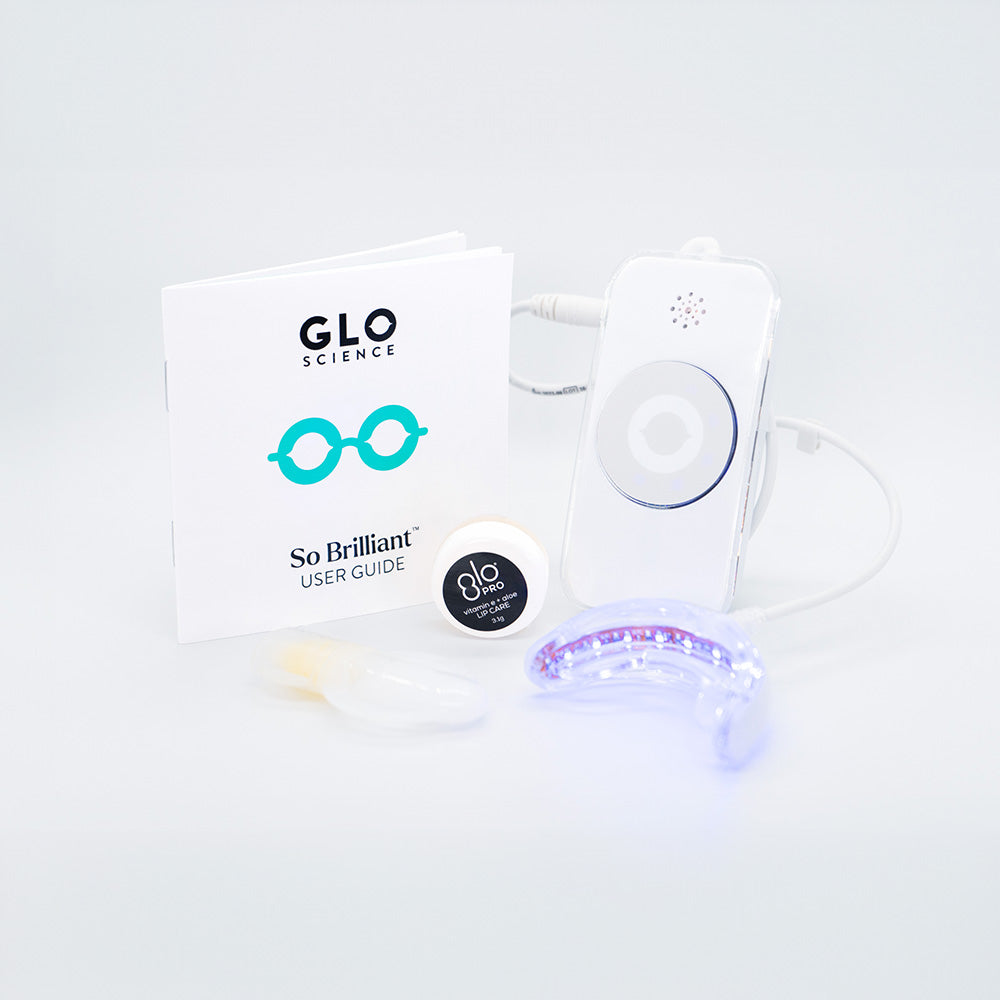
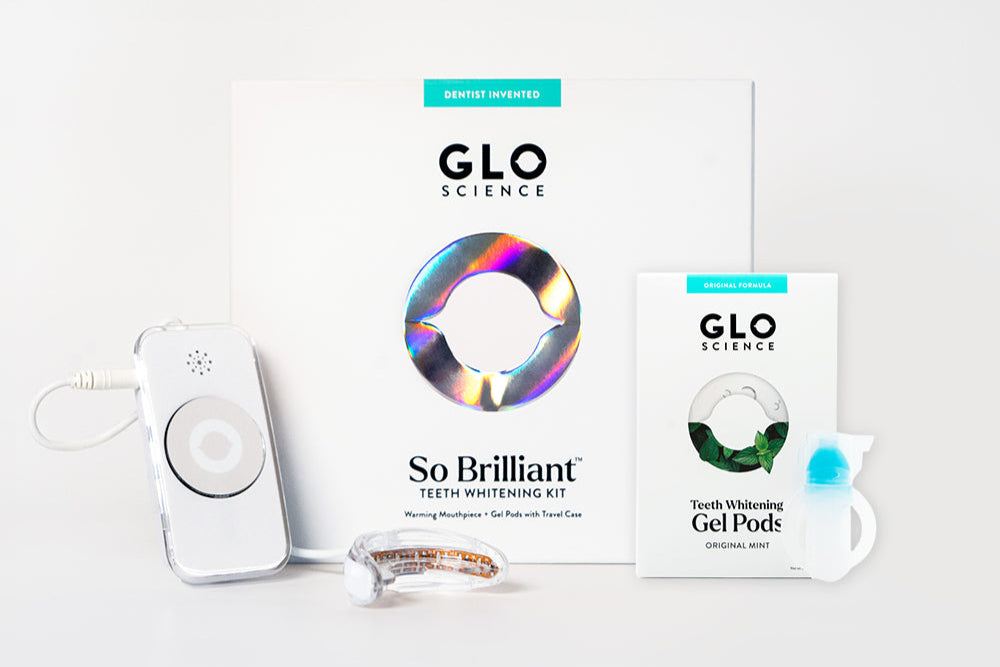
GLO Advanced Brilliant Whitening Tech Kit
Bring professional-grade teeth whitening to the comfort of your home.
With just three 8-minute sessions a day over five days, you're on the fast track to a more confident, youthful, and brighter smile. Clinically proven to erase years of stains and brighten up to 10 shades, this dentist-invented device puts professional-level results in the palm of your hand.
Your brightest smile has never been this effortless…
THREE SIMPLE STEPS
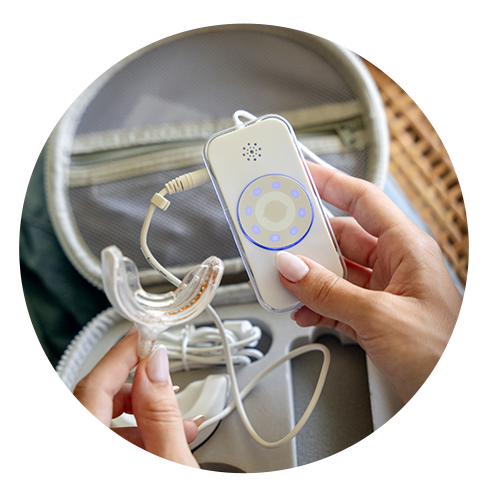
Switch On
Press the GLO button to turn on and apply nourishing lip balm to your lips

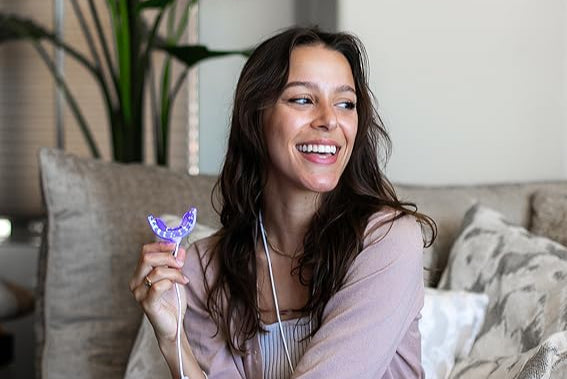
Apply Whitening Gel
Brush a thin layer of gel onto your teeth and insert the mouthpiece.

LET'S GLO
Press the Glo button again to start your first 8-minute session.
Tips for best results
· For best results, complete four consecutive 8-minute sessions daily, over five days.
· GLO Classic Brilliant Whitening device needs 5 hours to achieve a full charge, so remember to charge before the first session and between each use.
· Squeeze and brush a thin film of whitening gel on your front teeth – ½ a pea size for the top teeth and ½ a pea size for the bottom teeth.
· After completing the sessions, detach your mouthpiece from the controller, rinse it with water, and dry it with a clean cloth to be ready for the next time.
· For long-lasting results, do a touch-up session every month (1 whitening gel vial).